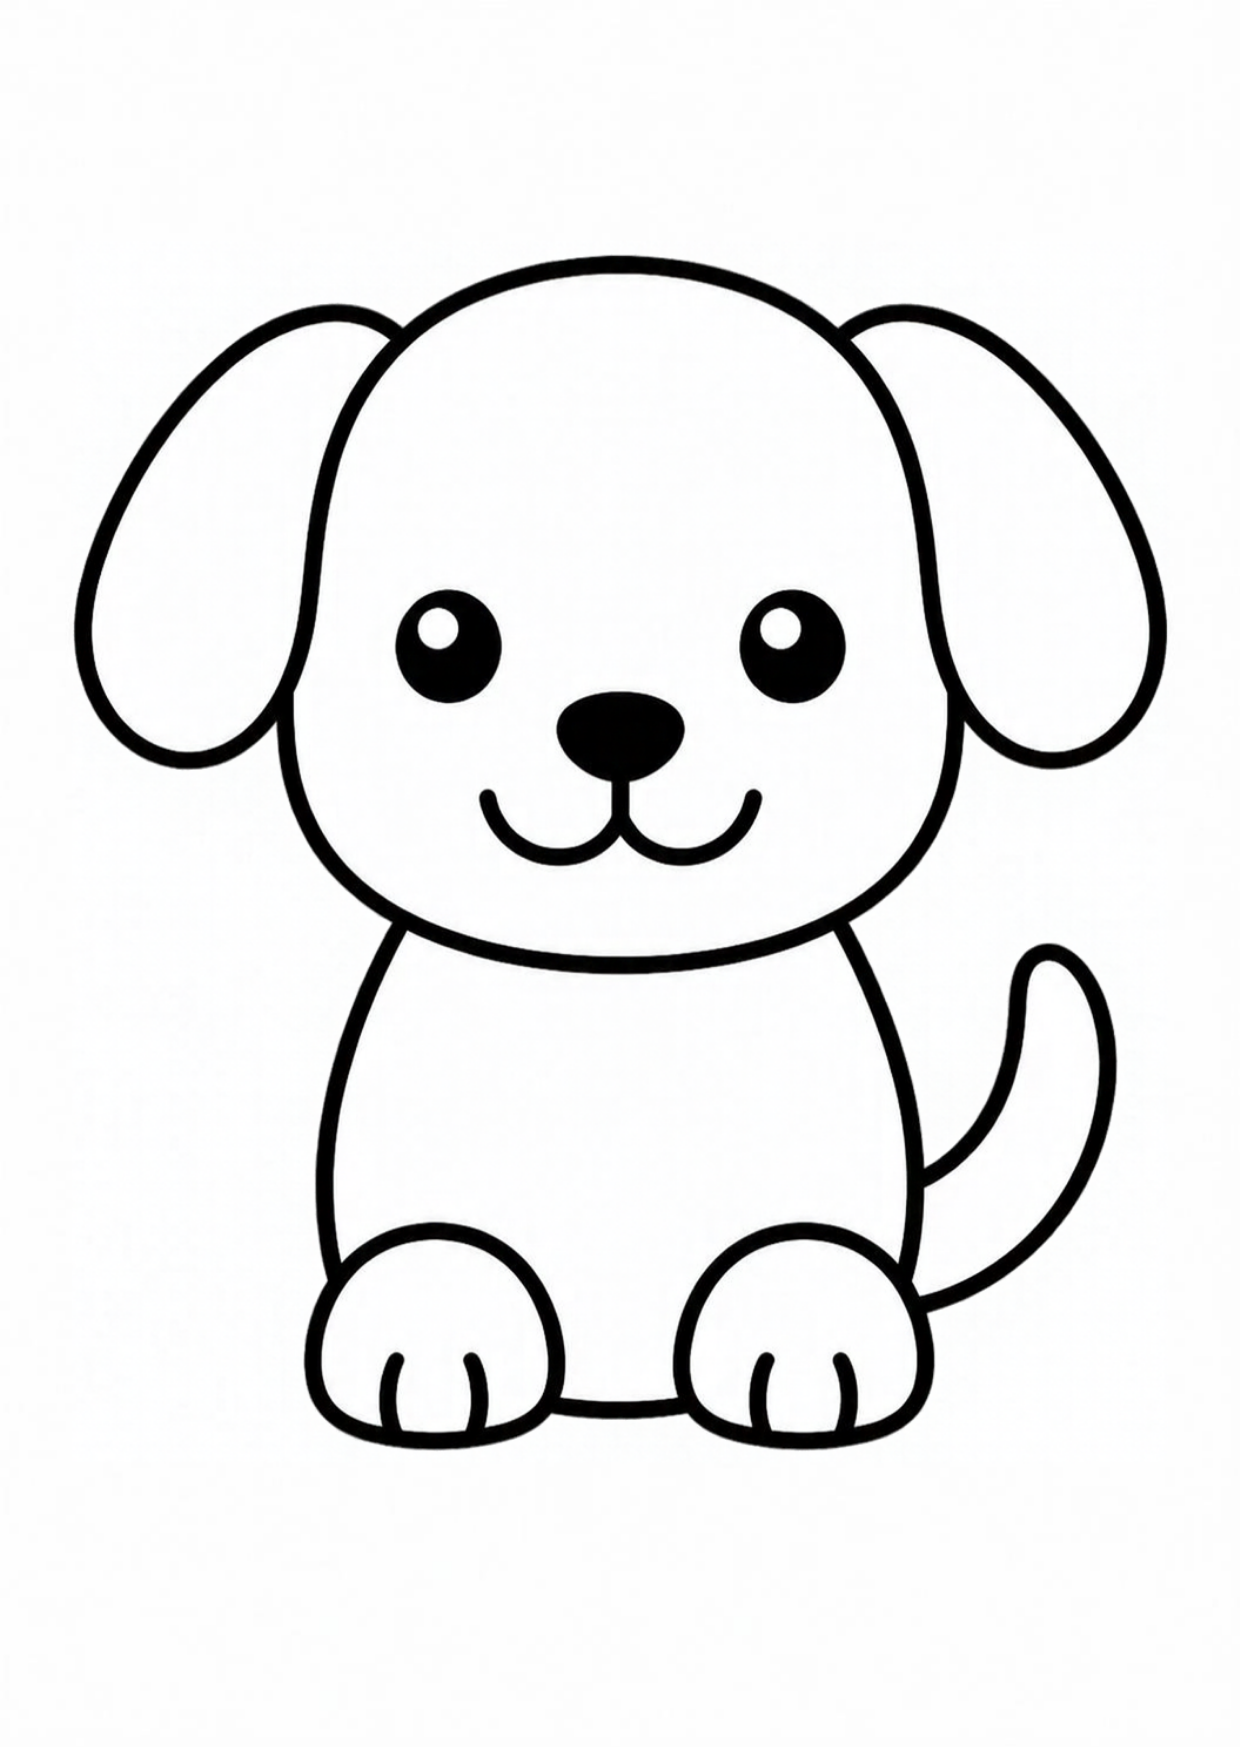
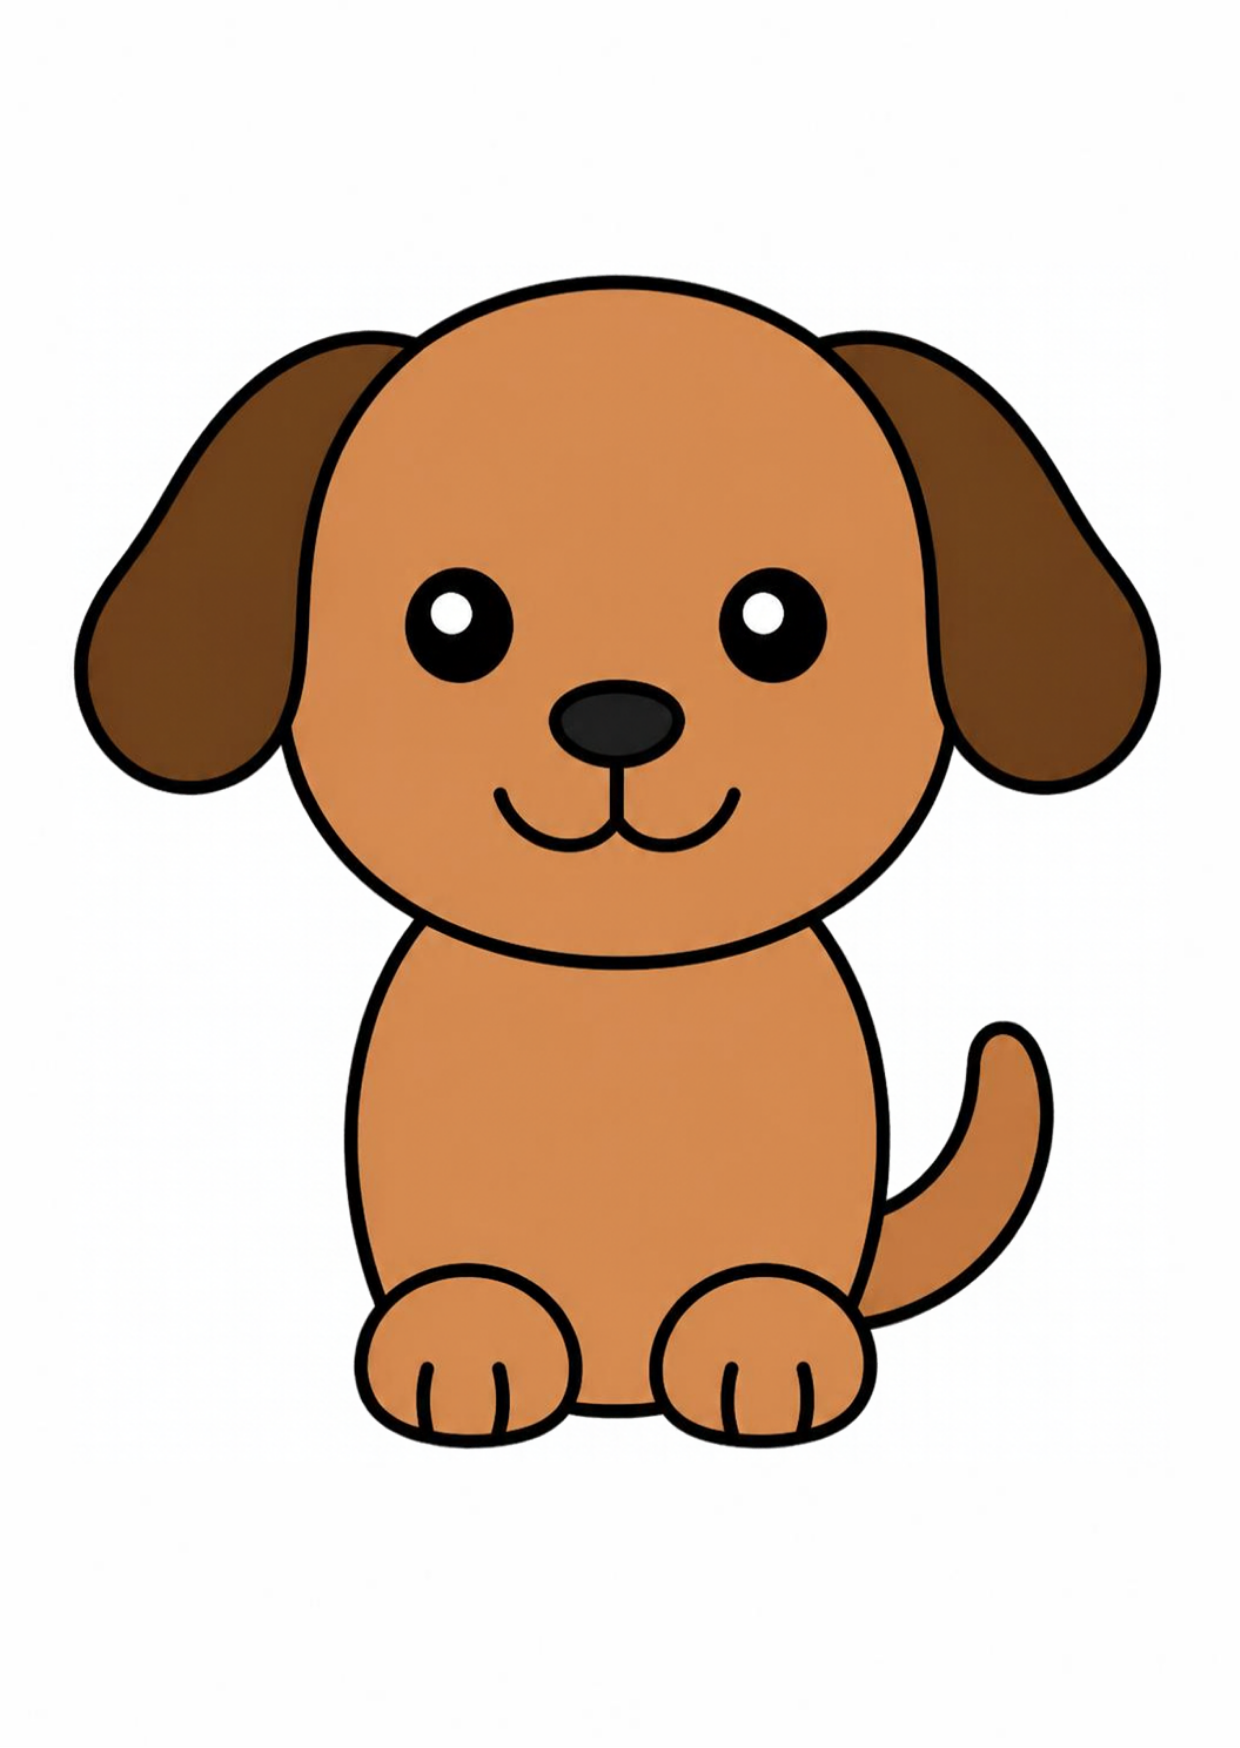
Six big steps from one circle to a finished dog. All you need is paper, a pencil and your favorite colors — crayons work too.
Step 1 of 6
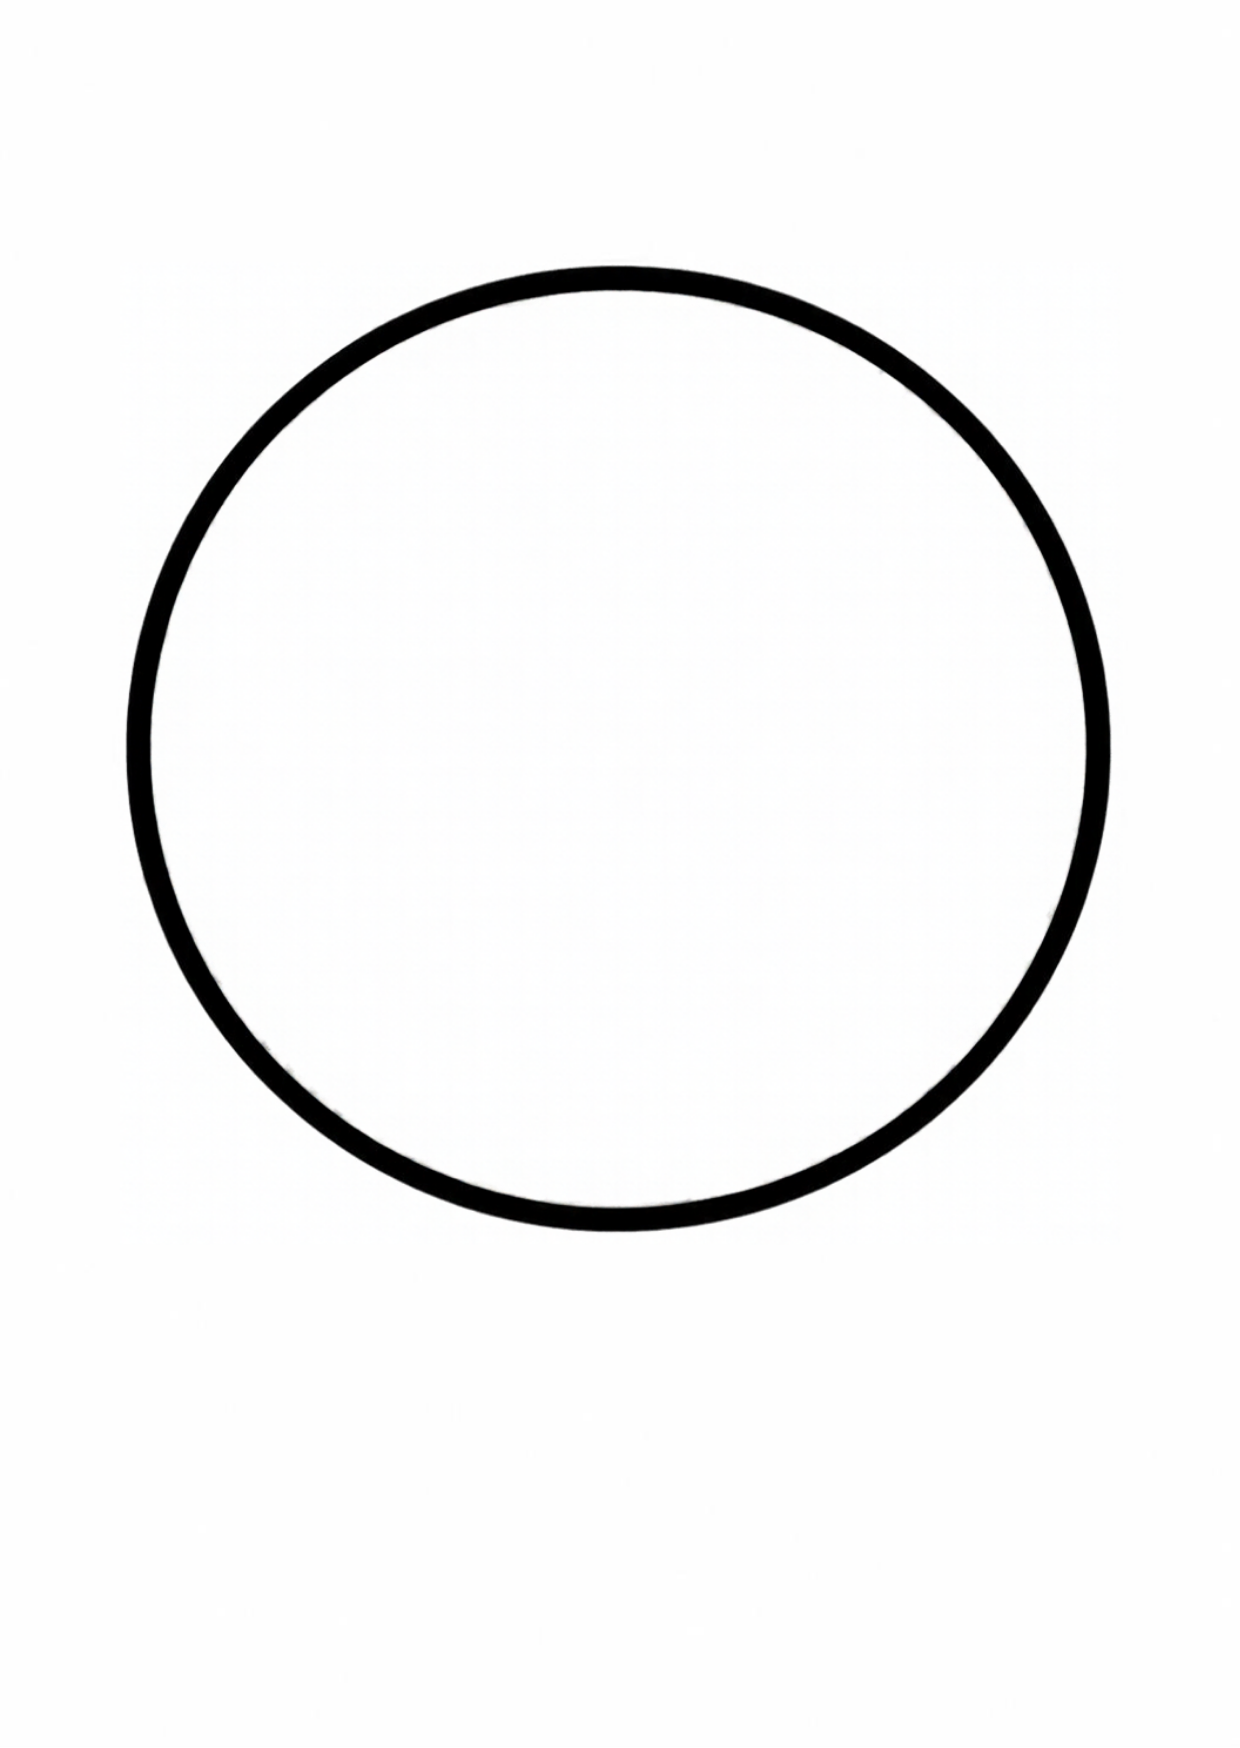
Step 1Draw the headPut your pencil in the upper half of your paper. Draw one large round circle, like a balloon. Leave plenty of room underneath for the puppy’s body.
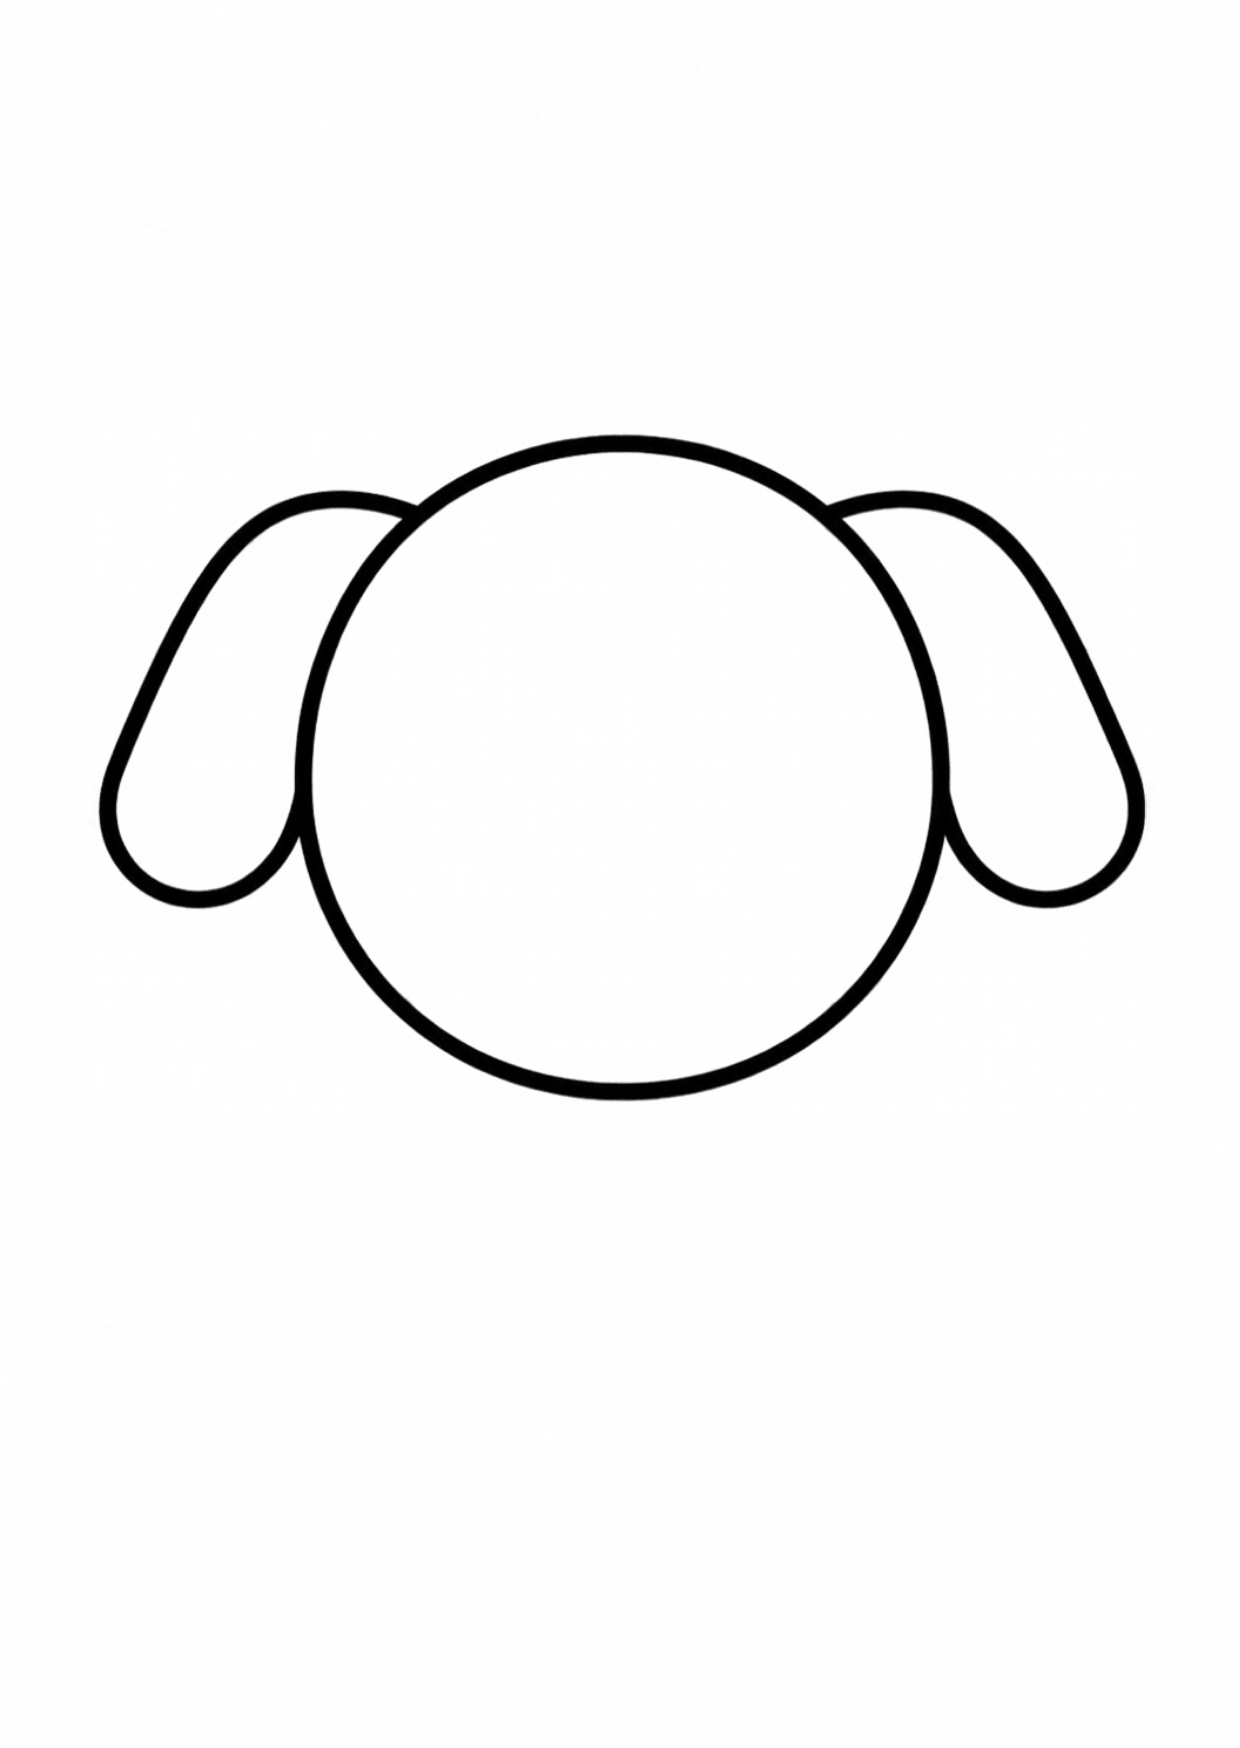
Step 2Add floppy earsStart at the top-left side of the head. Draw a long curved shape hanging down like a soft leaf. Repeat on the right side. Make both ears hang beside the puppy’s cheeks.
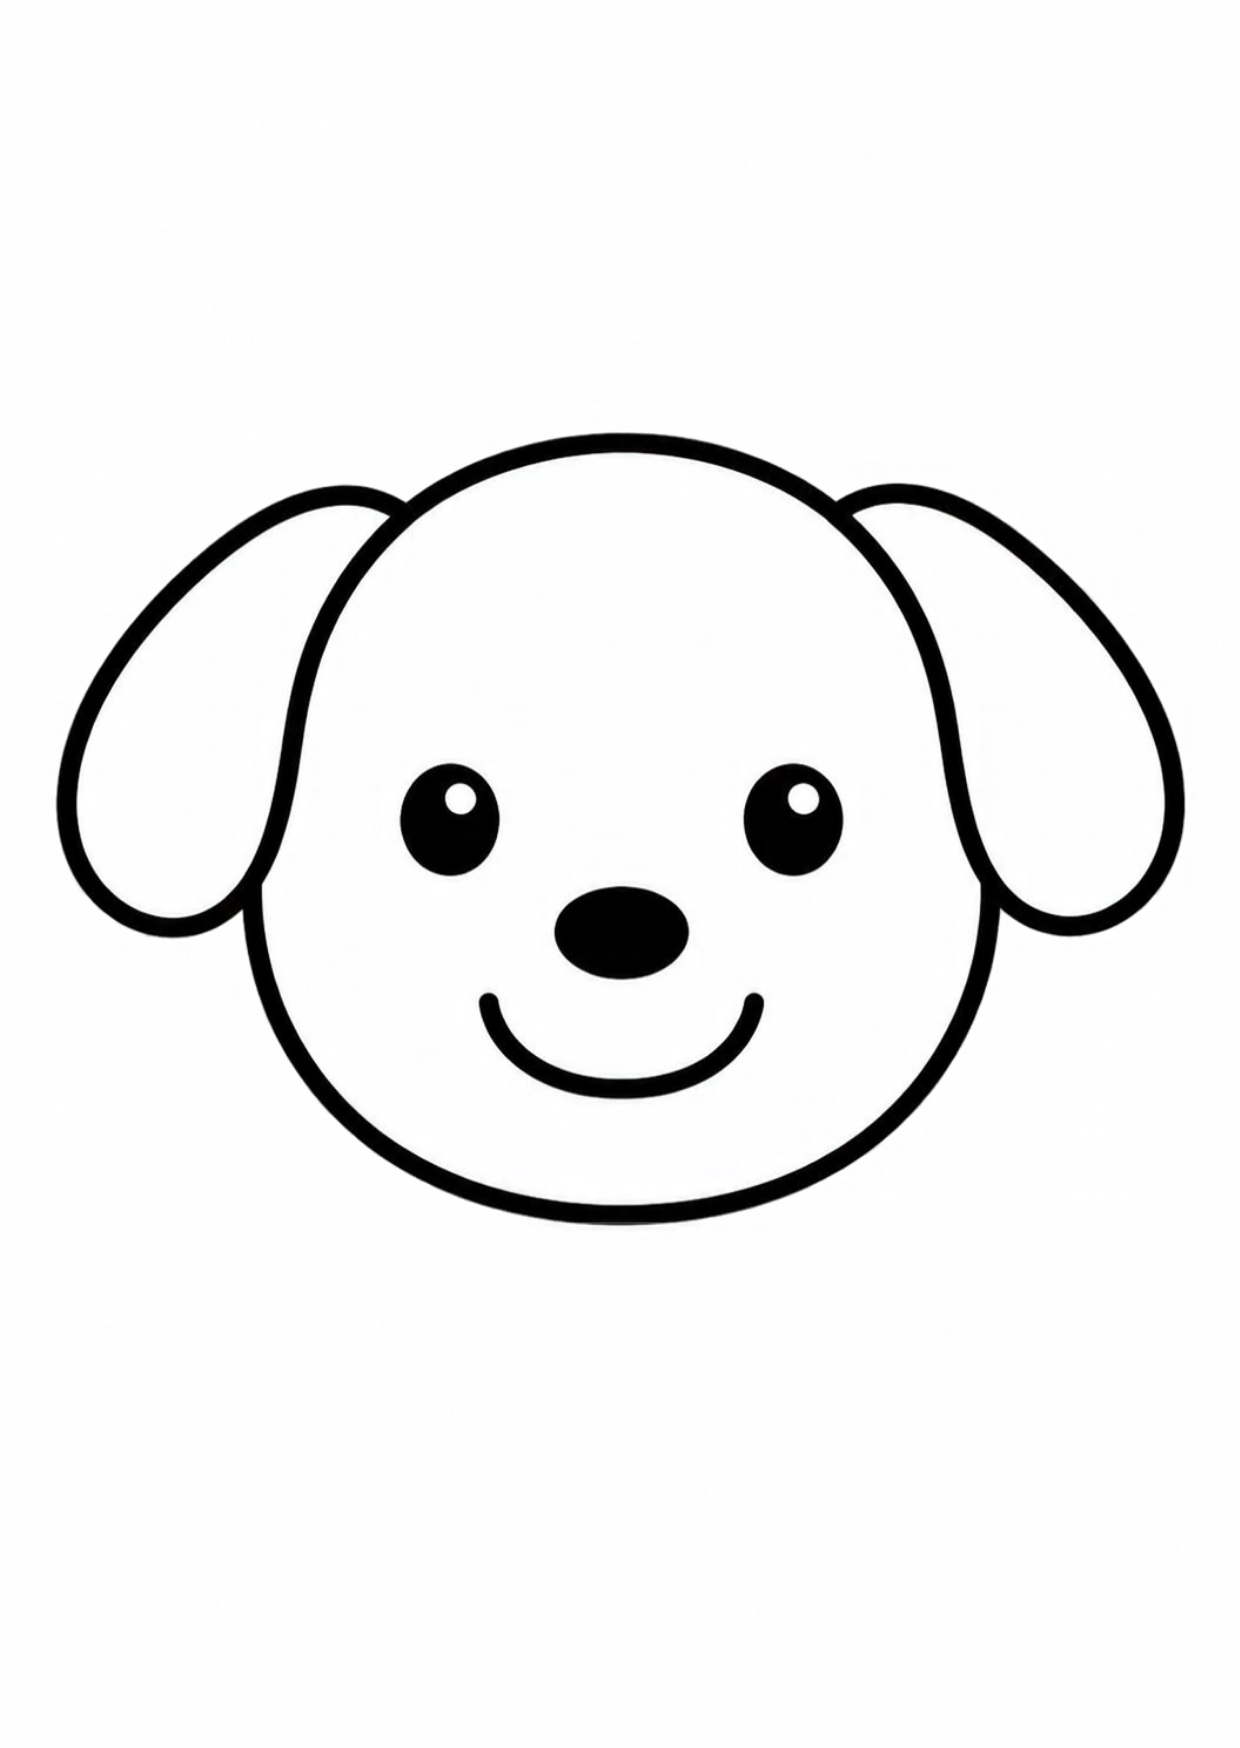
Step 3Draw the puppy’s faceInside the head, draw two small circles for eyes. Below them, draw a little oval for the nose. Under the nose, draw one wide curved line to make a happy smile.
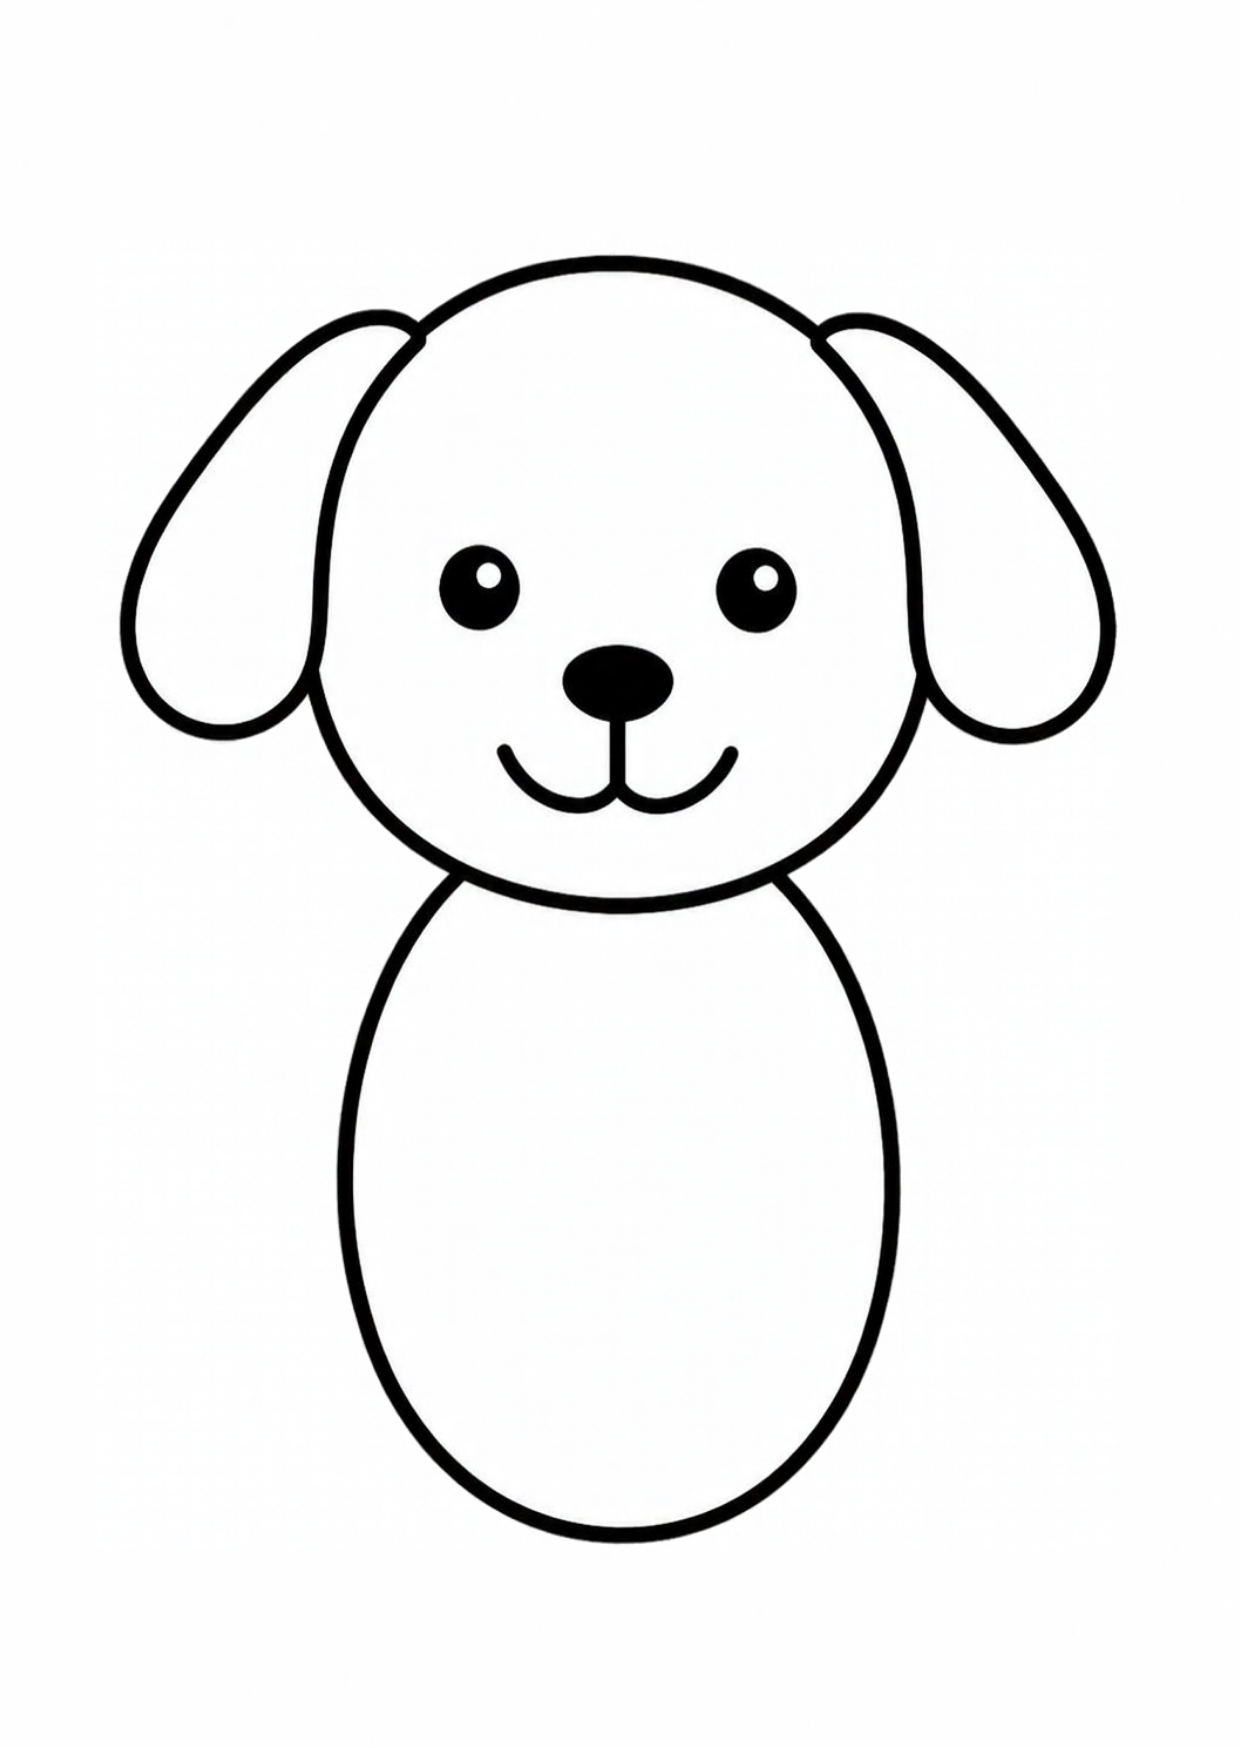
Step 4Draw the bodyStart just underneath the head. Draw one curved line downward on the left and another on the right. Connect them with a rounded line at the bottom to make an oval-shaped body.
Step 5Add paws and tailAt the bottom of the body, draw two small rounded paws side by side. Add two short lines inside each paw to show the toes. On the right side of the body, draw a curved line going outward and upward. Draw a second line back toward the body to make a wagging tail.
Step 6Color your puppyUse a light-brown crayon to color the puppy’s head, body, paws, and tail. Make the floppy ears a darker brown. Color the nose dark, and leave the eyes white and shiny so they sparkle.
For grown-ups: Sit together and draw side by side. A wobbly circle makes the friendliest dog. Paper, a pencil and something to color with are all this lesson needs.